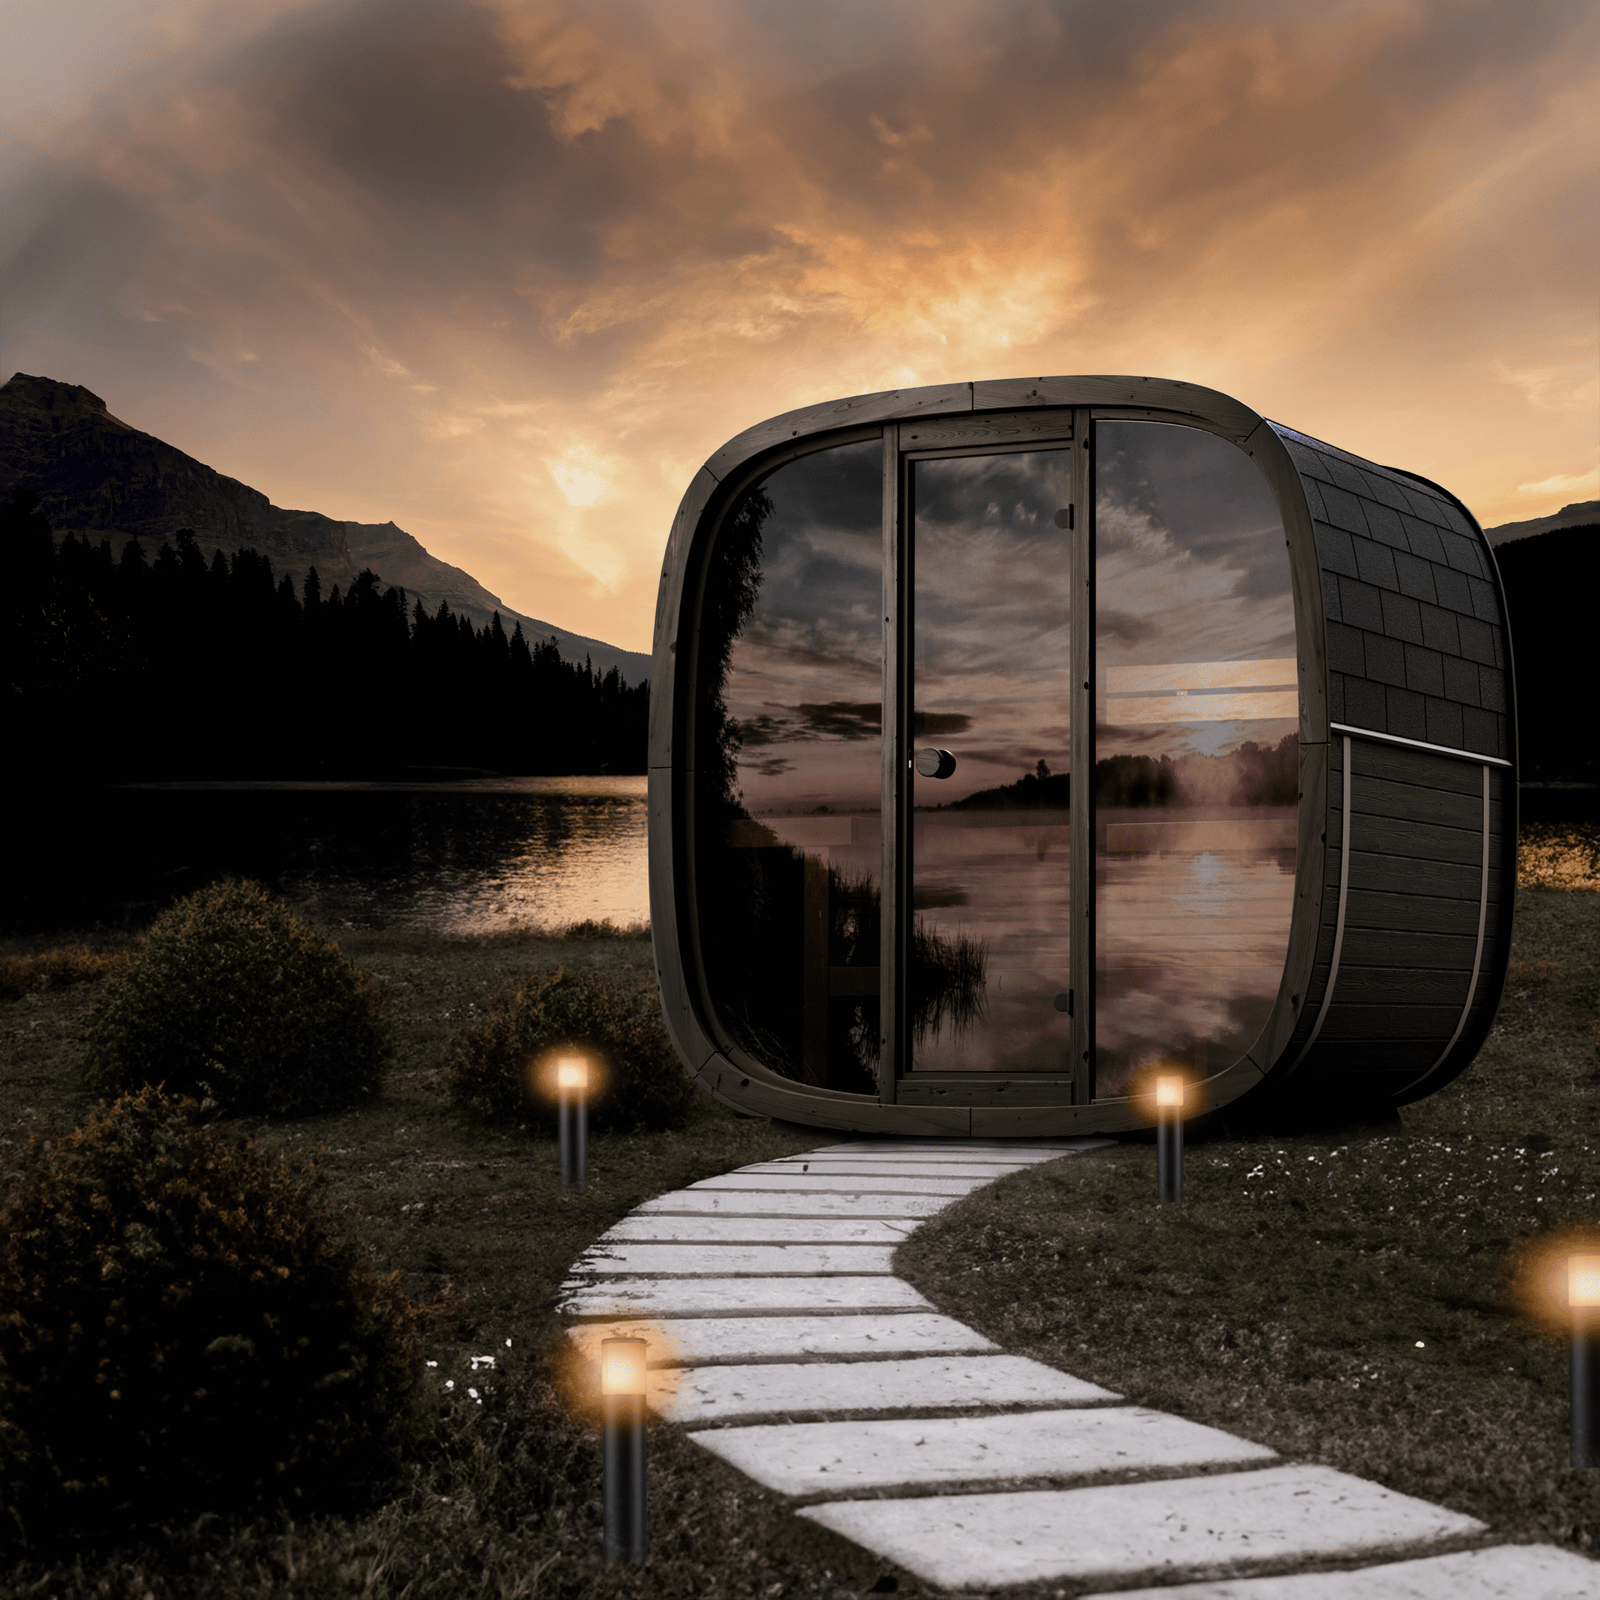
How to Prepare Your Home for a New Sauna Installation
Introduction
Preparing your home for a new sauna installation is an important step toward creating a organized and comfortable wellness space. Proper preparation ensures that the sauna fits safely, functions correctly, and remains comfortable for long-term use. This comprehensive guide explains each stage of preparation to help you install your sauna with confidence.
Evaluating the Installation Area
The first step is determining the most suitable area for installation.
1. Measure the Space Carefully
Measure the length, width, and height of the area where the sauna will be placed. Compare your measurements to the product specifications on Evasauna to ensure proper fit, door clearance, and safe spacing.
2. Consider Traffic Flow and Accessibility
Choose a location that allows comfortable movement around the sauna. Avoid areas that feel cramped or obstructed.
3. Verify Floor Strength
The floor must be level and capable of supporting the weight of the sauna. Most solid indoor surfaces qualify.
Electrical Requirements
Electrical setup must be reviewed before installation.
1. Understand the Power Specifications
Each sauna model lists its voltage requirements. Some models plug into standard outlets, while others require a dedicated power line.
2. Use a Qualified Professional
A licensed professional must handle electrical installation to ensure proper safety and compliance.
3. Plan for Outlet Positioning
Position the electrical access points according to the installation guide for the specific sauna model.
Ventilation and Airflow
Proper ventilation supports comfort and temperature stability.
1. Airflow Access
Ensure the room has adequate airflow. Some models include vents that must be installed in specific positions.
2. Avoid Fully Sealed Rooms
Completely sealed environments can trap excess heat. A small amount of airflow improves long-term comfort.
Preparing the Room Before Delivery
A few simple steps help the installation process run smoothly.
1. Clear the Installation Area
Remove furniture, boxes, or items that might interfere with assembly.
2. Provide a Clear Path for Delivery
Delivery teams require space to move large components safely.
3. Review the Assembly Instructions
Understanding the steps in advance allows you to prepare for the timeline and tools needed.
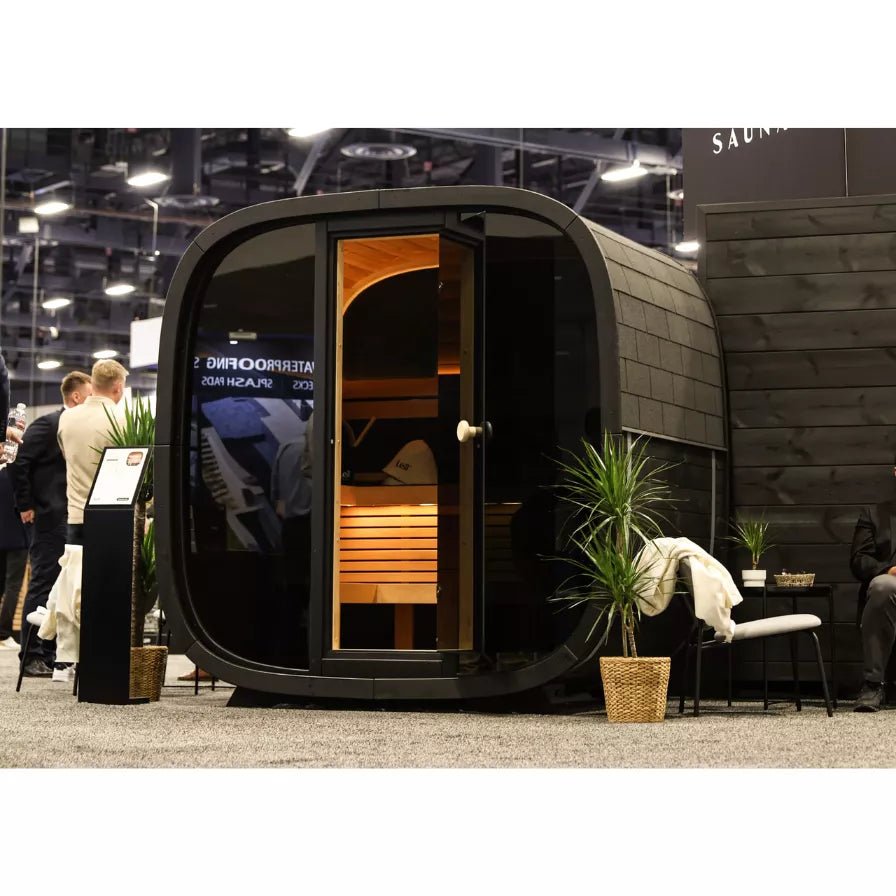
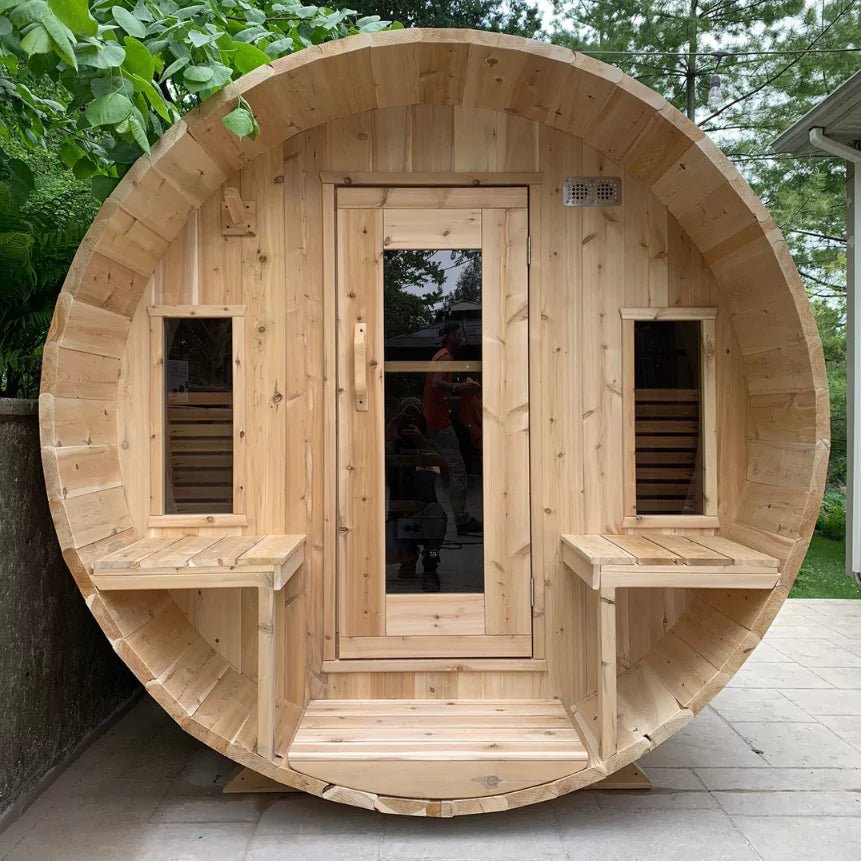
Understanding the Components
Saunas typically arrive in panels or sections.
1. Wall Panels
Panels lock or fasten together depending on the design.
2. Heater Components
Infrared panels or traditional heaters require proper placement.
3. Accessories and Controls
Lighting, thermostats, and seating components must be installed according to the guide.
Final Checks Before First Use
Once your sauna is installed, complete these checks.
1. Test the Heating System
Run the sauna according to the instructions to confirm proper heat function.
2. Review Safety Instructions
Follow all guidelines provided by the manufacturer.
3. Arrange Accessories
Place mats, backrests, and thermometers in their proper positions.
Conclusion
Preparing your home for a sauna installation is a structured process that ensures safety, comfort, and long-term performance. By taking accurate measurements, reviewing electrical requirements, clearing the installation space, and following product guidelines, customers can enjoy a smooth and organized installation. Evasauna provides detailed product information to help customers prepare confidently.
Add a review
Your email address will not be published. Required fields are marked *